Looking for natural veneer but worried about getting low-quality material? DIY enthusiasts and homeowners renovating their spaces need to know what makes good veneer worth the investment. In this guide, you’ll learn simple visual inspection techniques to spot quality grain patterns and coloration, plus easy physical tests you can do right in the store. We’ll also explain veneer grading systems so you can shop with confidence.
Understanding Natural Veneer Basics
What Makes Natural Veneer Different from Laminates
Natural veneer isn’t just a pretty face in the wood world. It’s the real deal – actual slices of timber cut from logs. When you run your fingers across natural veneer, you’re touching genuine wood with all its unique grain patterns and character.
Laminates, on the other hand? They’re basically photographs of wood printed onto paper and soaked in resin. Sure, they might look wood-ish from across the room, but up close? No contest.
The differences jump out at you:
| Natural Veneer | Laminates |
|---|---|
| Real wood slices (0.5-0.7mm thick) | Printed paper with resin coating |
| Unique grain patterns in each sheet | Repetitive patterns every few sheets |
| Ages naturally, developing character | Fades and looks artificial over time |
| Repairable and refinishable | Cannot be restored once damaged |
| Warm to touch, natural feel | Plastic-like feel |
Common Wood Species Used in Veneers
Not all trees make the cut when it comes to premium veneers. The wood aristocracy includes:
- Oak: The reliable classic with strong grain and excellent durability
- Maple: Light colored with subtle grain, perfect for contemporary spaces
- Walnut: Rich, chocolate tones that scream luxury
- Cherry: Ages like fine wine, darkening to a gorgeous reddish-brown
- Teak: The moisture-resistant champion for kitchens and bathrooms
- Exotic species: Zebrawood, Bubinga, and Rosewood for when you want jaws to drop
Each species brings its own personality to the table. Oak stands strong with pronounced grain while Maple whispers with subtle elegance.
The Manufacturing Process of Quality Veneers
Quality veneer production isn’t some backyard operation. It’s a delicate dance of precision and patience.
First, carefully selected logs get steamed or soaked to soften the wood. Then comes the main event – slicing. The method matters big time:
Plain slicing creates those cathedral patterns everyone loves.
Quarter slicing gives you straight, consistent grain lines.
Rift cutting produces a uniform, linear appearance without the flakes in oak.
After slicing, sheets are dried with tender loving care – too fast and they crack, too slow and they warp. The best manufacturers monitor moisture content obsessively.
Then comes the magic of matching. Premium veneers are arranged in specific patterns:
- Book matching (mirror image)
- Slip matching (sequential sheets)
- Diamond matching (for that extra wow factor)
Typical Uses and Applications
Natural veneer shines brightest in these spots:
Furniture: From executive desks to heirloom dining tables, veneer brings luxury without the weight and cost of solid wood.
Architectural panels: Those gorgeous wood walls in upscale hotels? Veneer.
Cabinet fronts: Kitchen and bathroom cabinets get the solid wood look without the movement issues.
Doors: High-end interior doors often sport veneer faces over engineered cores.
Specialty applications: Yacht interiors, aircraft cabins, and custom automotive dashboards all benefit from veneer’s lightweight luxury.
Designers love veneer because it brings warmth and texture while solving practical problems. It uses wood resources efficiently and provides stability solid wood can’t match in certain applications.
Visual Inspection Techniques
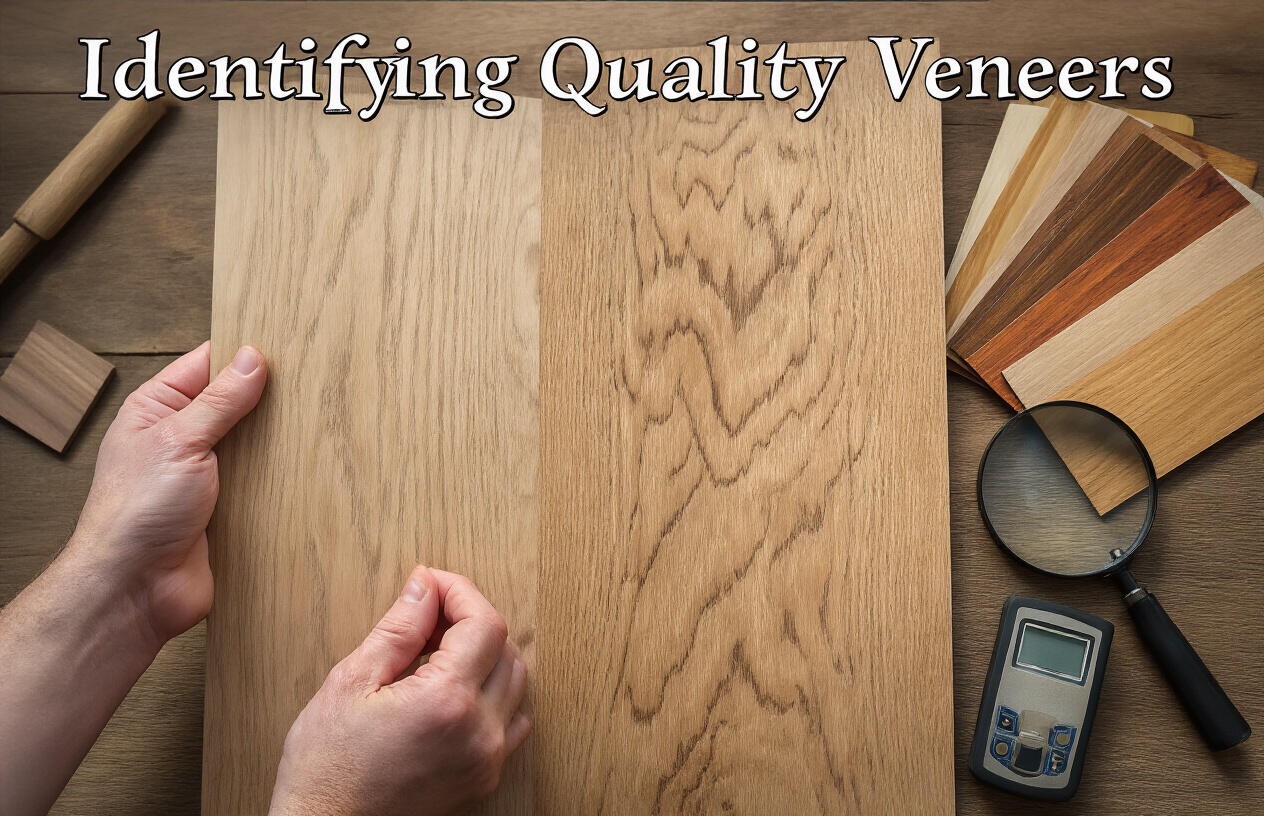
A. Assessing Color Consistency and Grain Patterns
Want to spot quality veneer instantly? Look at color consistency first. Natural wood has subtle variations, but high-quality veneer sheets maintain a harmonious color flow across the surface.
The grain pattern tells you everything about authenticity. Premium veneers showcase clear, distinctive grain lines that follow natural wood patterns. Run your fingers across the surface – you should feel those subtle ridges where the grain rises.
Watch out for sheets with abrupt color changes or mismatched grain directions – these are red flags of poor quality or improper matching. Quality manufacturers carefully select and arrange veneer leaves so patterns flow naturally from one section to the next.
B. Identifying Natural Wood Characteristics vs. Defects
Knots, burls, and mineral streaks? Those aren’t flaws – they’re character marks that add unique beauty to natural veneer. But know the difference between character and actual defects.
Real problems include:
- Delamination (veneer separating from backing)
- Bubbling or blistering
- Cracks that run across the grain
- Discoloration from water damage
Good veneer embraces natural variations while avoiding structural problems. That small knot might be a premium feature in figured maple, while a split along the grain is always a defect to avoid.
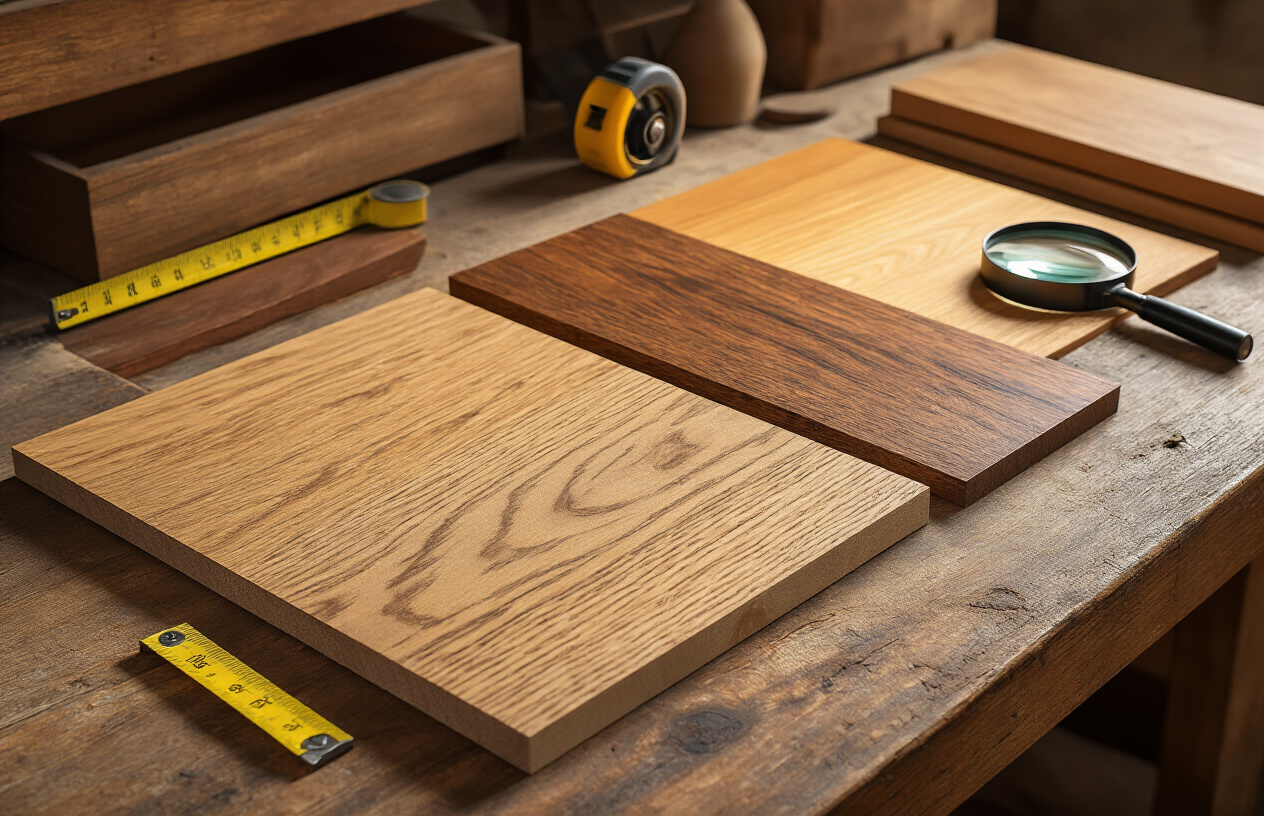
C. Examining Edge Treatments and Thickness
Grab that veneer sheet and check the edges. Quality veneer has clean, straight cuts without fraying or splintering. The edges reveal the true thickness – premium architectural veneers typically range from 0.5mm to 0.7mm.
Too thin (under 0.4mm)? It’ll likely tear during installation or sand through during finishing. Too thick (over 1mm)? It might not bend properly around curved surfaces.
Check for consistent thickness across the entire sheet. Variations of more than 0.1mm suggest poor manufacturing control.
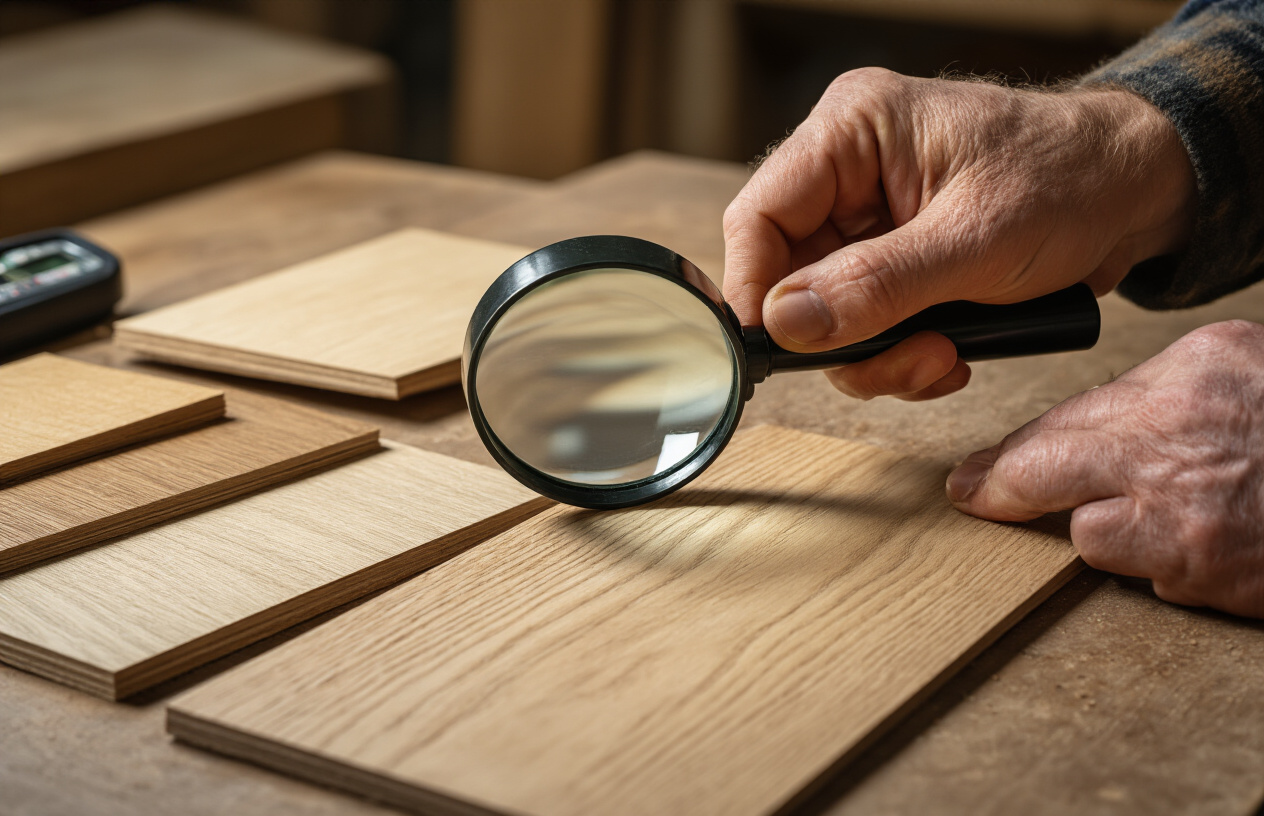
D. Using Magnification to Spot Quality Indicators
Pull out a magnifying glass or your phone’s camera zoom – this simple tool reveals secrets invisible to the naked eye.
Under magnification, look for:
- Tiny tears in the wood fibers
- Signs of artificial grain enhancement
- Razor-thin saw marks indicating quality slicing
- Adhesive bleed-through on backed veneers
The finest veneers show clean, natural cell structures without fillers or excessive compression damage. Compare the magnified surface to a solid wood sample of the same species – they should have similar cellular structures.
E. Testing Surface Smoothness
Time for the touch test. Close your eyes and run your fingertips across the surface. Quality veneer feels silky smooth without rough patches or splinters.
Try this simple smoothness test: Place a thin piece of paper on the veneer and lightly rub a pencil across it. On poor-quality veneer, you’ll see an irregular, bumpy pattern. On premium veneer, you’ll get a more consistent pencil rubbing.
Another test? Lightly mist the surface with water from a spray bottle. Quality veneer absorbs moisture evenly, while lower grades show blotchy absorption patterns or repel water entirely (suggesting heavy sealers or artificial treatments).
Physical Testing Methods
The Flexibility Test for Durability Assessment
Ever bent a piece of veneer and watched it snap instantly? That’s a red flag. Quality veneer should have some give to it.
Here’s a simple test: take a small sample and gently bend it between your fingers. Good veneer will flex slightly before showing resistance. If it cracks immediately, you’re looking at brittle material that won’t hold up during installation or daily use.
The best veneers maintain this flexibility even after years of storage. Why? Because they’re cut properly and seasoned correctly. Poor manufacturing shortcuts often result in veneer that’s too rigid or inconsistently flexible across the sheet.
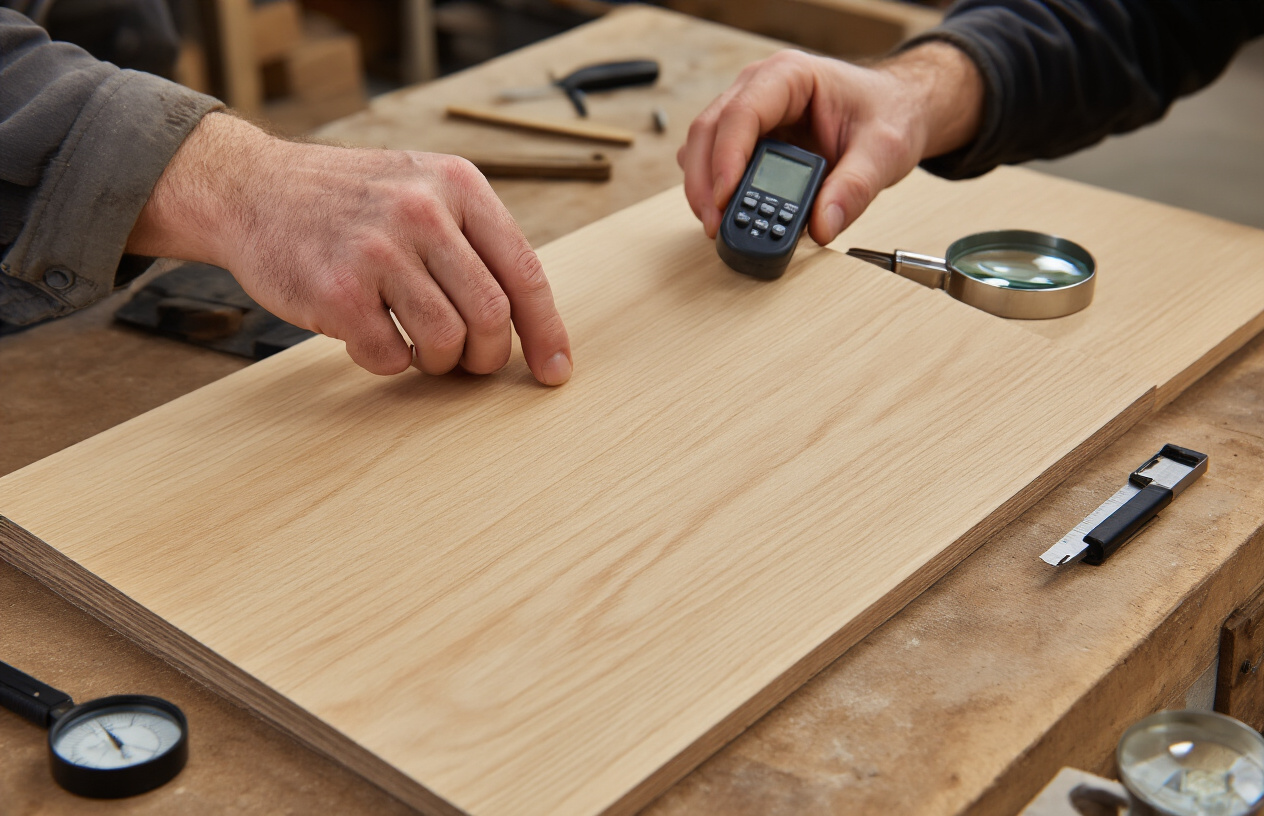
Checking Moisture Content for Stability
Moisture is the silent killer of veneer projects. Too wet? It’ll warp later. Too dry? Hello, cracking nightmares.
Get yourself a moisture meter – it’s worth every penny. For most interior applications, you want readings between 6-9%. Anything higher signals trouble.
No meter? Try the weight test. Quality veneer feels substantial but not heavy or damp. Or press it against your cheek – you shouldn’t feel coolness or dampness.
Smart buyers always check multiple spots across the sheet. Uneven moisture means uneven performance down the road.
Evaluating Backing Material Quality
The backing is the unsung hero of veneer performance. Flip that sheet over!
Quality backing should be uniform in thickness and firmly bonded to the veneer face. Run your fingers along the back – any separation points or bubbles mean trouble.
For paper-backed veneers, look for high-quality kraft paper without discoloration. For wood-backed options, check for clean, consistent core material.
The adhesive matters too. Premium veneers use clear, evenly applied adhesives without visible blotches. Poor backing choices almost always lead to application headaches and long-term stability issues.
Understanding Veneer Grades and Standards

Industry Grading Systems Explained
Buying natural veneer without understanding grades is like shopping for diamonds without knowing the 4Cs. The veneer industry uses several grading systems, but most follow a similar pattern.
Most manufacturers grade veneers from AA (the highest) down to C or D. AA-grade veneers feature consistent color, minimal defects, and attractive grain patterns. As you move down to B and C grades, you’ll notice more color variation, knots, and natural “imperfections.”
Here’s the thing – lower grades aren’t necessarily bad veneers. They’re just more rustic and character-filled. Some of the most stunning furniture uses B-grade veneer with interesting figuring.
Premium vs. Commercial Grade Differences
Premium veneers cost more for good reason. The differences jump out when you know what to look for:
| Premium Grade | Commercial Grade |
|---|---|
| Uniform color | Color variations |
| Minimal sapwood | More sapwood present |
| Clear face | Minor knots and burls |
| Book-matched sheets | Random matching |
| 0.6mm+ thickness | Thinner (0.4-0.5mm) |
Premium grades offer exceptional stability and finishing qualities. Commercial grades work fine for many projects but might require more careful handling and finishing.
Certification Labels to Look For
Smart buyers check for certification labels. The most respected include:
- FSC (Forest Stewardship Council)
- PEFC (Programme for Endorsement of Forest Certification)
- HPVA (Hardwood Plywood & Veneer Association)
These certifications guarantee more than sustainability – they ensure manufacturers follow strict quality control procedures too.
Regional Variations in Grading
North American suppliers follow different standards than European or Asian manufacturers. European systems often use classifications like “A,” “Extra,” or “Natural.” Asian suppliers might use numeric grades (1-4).
European grading tends to be stricter about appearance, while North American systems allow more natural character. Italian veneer suppliers are especially known for their exacting standards.
When importing veneer, always ask for a translation of their grading system. What qualifies as “Premium” varies dramatically between countries.
Smart Shopping Strategies

A. Questions to Ask Veneer Suppliers
When you’re on the hunt for natural veneer, you need to grill your suppliers properly. Don’t just walk in clueless – arm yourself with these key questions:
“What tree species is this veneer from, and where was it harvested?”
“Is this rotary cut, slice cut, or quarter cut?”
“What grade classification does this veneer have?”
“How thick is this veneer exactly?”
“Do you have documentation certifying sustainable harvesting?”
“What backing or substrate is used?”
“How long has this veneer been stored and under what conditions?”
Good suppliers love these questions. They show you know what you’re talking about. The sketchy ones? They’ll get uncomfortable real quick.
B. Requesting and Evaluating Samples
Never, and I mean never, buy veneer without seeing a sample first. Period.
When you get those samples:
- Check them in different lighting – natural daylight reveals flaws artificial light hides
- Examine both sides thoroughly
- Bend the sample slightly to test flexibility (good veneer bends without cracking)
- Compare the sample’s color and grain to product photos
- Place it against your intended substrate to see how it looks
Remember, tiny samples can be misleading. Request larger pieces when possible, especially for veneers with dramatic grain patterns.
C. Comparing Prices Across Quality Levels
Veneer pricing isn’t straightforward. The cheapest option will cost you more in the long run, guaranteed.
| Quality Level | Price Range | What You Get |
|---|---|---|
| Economy | $0.50-$2/sq ft | Basic species, visible defects, thin cuts, limited matching |
| Standard | $2-$5/sq ft | Common species, minimal defects, standard thickness |
| Premium | $5-$15/sq ft | Exotic species, virtually defect-free, precise matching |
| Luxury | $15+/sq ft | Rare species, artistic cuts, perfect figure, expert matching |
Don’t just compare raw prices. Factor in wastage, installation complexity, and longevity. That “bargain” veneer might require 20% more material due to defects and waste.
D. Understanding Warranty Terms
The warranty tells you how much faith the supplier has in their product. Read the fine print!
Key warranty points to understand:
- Duration of coverage
- What specific defects are covered
- Environmental conditions that void warranty
- Installation requirements
- Remedies offered (replacement, refund, repair)
Watch for vague terms like “reasonable use” or “manufacturer’s discretion.” A quality supplier offers clear, specific warranty terms without excessive exclusions.
E. Avoiding Common Scams and Misrepresentations
The veneer world has its share of tricksters. Watch for these red flags:
- Species confusion – Selling cheaper woods under premium names
- Digital deception – Heavily filtered photos hiding flaws
- Grade inflation – Marking lower grades as premium
- Thickness games – Delivering thinner sheets than advertised
- The bait-and-switch – Sending samples from premium stock, delivering inferior product
Protect yourself by:
- Getting everything in writing
- Researching typical pricing for the species
- Asking for references from past customers
- Checking industry credentials and certifications
- Paying with credit cards for purchase protection
If the deal seems too good to be true, your instincts are probably right.

High-Quality Veneer: The Informed Buyer’s Guide
Identifying premium natural veneer requires a comprehensive approach. By understanding veneer basics, performing thorough visual inspections, conducting simple physical tests, and familiarizing yourself with industry grades and standards, you can confidently select materials that will enhance your projects with lasting beauty. Remember that color consistency, grain patterns, thickness uniformity, and proper backing are all crucial indicators of quality worth investigating before making your purchase.
Armed with these evaluation techniques and smart shopping strategies, you’re now prepared to make informed decisions when investing in natural veneer. Take your time, ask detailed questions of suppliers, request samples before large purchases, and compare options from multiple sources. Your attention to quality details will pay dividends in the form of beautiful, durable finished products that showcase the timeless elegance of natural wood.